How to Make Hot Sauce from Chili Peppers
Turn a chili pepper glut into bottled sauce. Use the brine calculator to work out your salt, then choose a slow fermented sauce or a fast vinegar one.
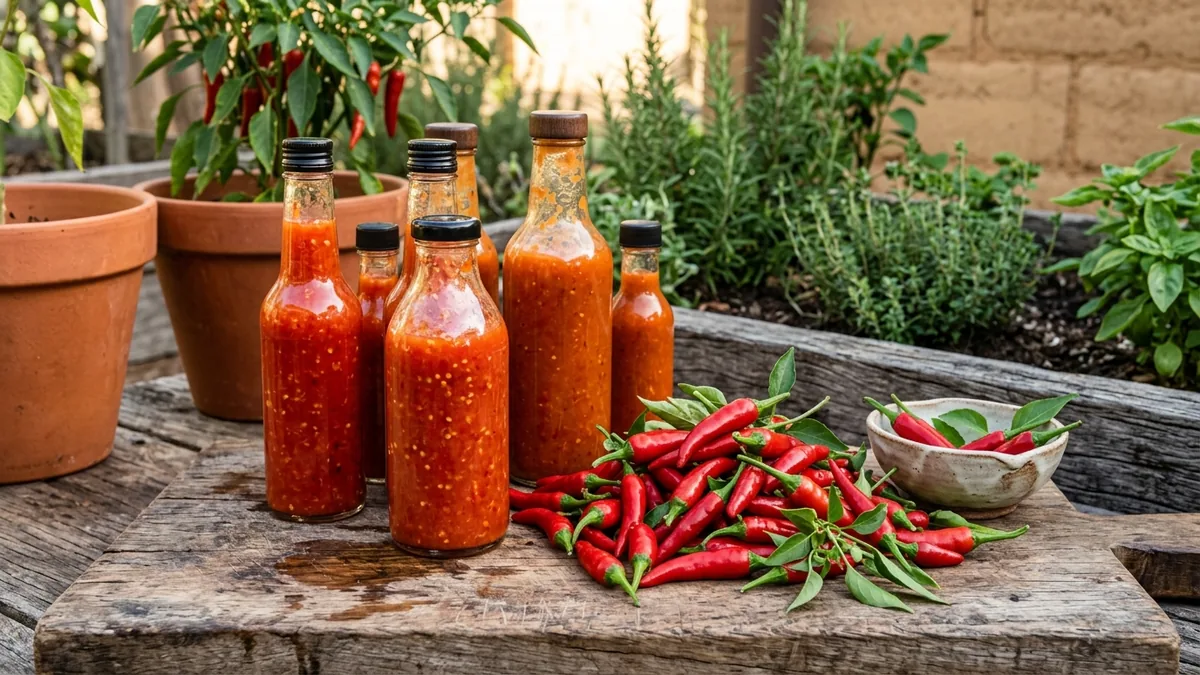
When the pepper plants finally let go and you have far more ripe fruit than you can cook with, hot sauce is the answer. A few jars of fermenting chiles on the counter turn into months of bottled heat for the kitchen. There are two main routes, a slow lacto-fermented sauce with deep flavor, and a quick vinegar sauce you can blend and bottle in an afternoon. This guide walks through both, and the salt brine calculator below works out exactly how much salt you need for a ferment of any size.
Hot Sauce Ferment Brine Calculator
Enter the weight of your chili peppers and pick a salt strength. The calculator assumes you add water equal to the pepper weight so the chiles sit under brine, then works out the salt across the whole batch. Weigh in grams for accuracy (1 pound is about 454 grams).
Use non-iodized salt with no anti-caking agents (pure sea salt, kosher or pickling salt). Percentages are by weight across the chiles plus the water. Keep everything fully submerged under the brine. Add a little more water than shown if needed to cover the peppers completely. About 28 grams equals 1 ounce.
Fermented vs Quick (Vinegar) Hot Sauce
Both make good sauce. They just get there differently and taste different at the end.
Fermented hot sauce
Chiles are packed into a salt brine and left to lacto-ferment for 1 to 3 weeks or more. The good bacteria slowly turn the natural sugars into acids, which build a deep, complex, tangy flavor you cannot get any other way. You then blend the peppers with some of the brine and usually add a splash of vinegar to taste and to set the acidity. The pros are flavor, depth and that signature sour funk of a classic Louisiana-style sauce. The cons are time and attention, you need to keep an eye on the jar for a few weeks and keep everything submerged.
Quick vinegar hot sauce
Fresh chiles are blended with vinegar, salt and aromatics, then either bottled straight away or simmered briefly first. It is fast, bright and sharp, and the vinegar gives you immediate acidity, which makes the safety picture simpler. The pros are speed and a clean, punchy flavor. The cons are that it lacks the rounded, fermented depth, and it can taste quite raw and vinegary if you do not balance it with a little sweetness or cooking.
How to Ferment Chili Peppers (Step by Step)
- Weigh your peppers. Wash, remove stems, and weigh the prepared chiles. This weight feeds the brine calculator above.
- Make the salt brine. Use the calculator to get your salt in grams, then dissolve it in the water. A 2 to 3 percent brine is the sweet spot. Stir until the salt is fully dissolved.
- Pack the jar. Pack the chiles (whole, halved or roughly chopped) into a clean jar along with any aromatics you like, such as garlic, onion or carrot. Leave a gap of about an inch at the top.
- Submerge everything. Pour the brine over the peppers so they are completely covered. Hold them under with a small fermentation weight, a clean stone, or a zip-top bag filled with a little extra brine. Nothing should poke above the surface.
- Cover loosely or use an airlock. A loose lid or an airlock lid lets the carbon dioxide escape while keeping dust out.
- Keep it at room temperature. Stand the jar out of direct sun at around 65 to 75 degrees Fahrenheit.
- Burp it daily. If you are not using an airlock, open the jar once a day to release the built-up gas, then re-seal. Skip this step if your lid has an airlock.
- Ferment for 1 to 3 weeks. Start tasting from about day 7. Stop when the flavor is sour and complex enough for you and the bubbling has slowed.
Why Acidity and pH Matter for Safety
In short, acidity is what keeps a room-temperature sauce safe. A fridge sauce can be milder and less acidic because the cold does the protecting. A shelf sauce must be properly acidic and, ideally, pH-tested. When you are not sure, the fridge is always the safe choice.
Blending, Straining and Bottling
Once the ferment tastes right, it is time to turn it into sauce.
- Blend. Tip the chiles into a blender with some of the brine and blend to your preferred heat and consistency. Add brine a little at a time until it pours the way you like.
- Add vinegar. Stir in vinegar to taste, both for brightness and to set the acidity. If you plan to store the sauce out of the fridge, this is where you acidify and then test the pH, aiming for 4.0 or below.
- Strain or leave chunky. For a smooth, pourable Louisiana-style sauce, strain it through a sieve. Leave it as is for a thicker, chunkier sauce.
- Simmer if you wish. A brief simmer can mellow and thicken the sauce, though it will knock back the live, fresh character of a ferment, so this is a matter of taste.
- Bottle. Pour into clean, sterilized bottles. Slim woozy bottles with a drip insert are the classic choice and make the sauce easy to use. Label and date every bottle.
Store fresh and untested sauces in the fridge. Only keep a sauce at room temperature if it has been properly acidified and pH-tested, or made to a tested USDA or NCHFP recipe.
Handling Chili Peppers Safely
- Wear gloves for hot types. From habanero up, wear disposable gloves. Capsaicin clings to skin for hours and transfers straight to your eyes and lips.
- Keep hands away from your face. Do not touch your eyes, nose or mouth while prepping, and wash your hands well afterward.
- Ventilate when blending superhots. Blending very hot chiles releases capsaicin into the air, which can make you cough and sting your eyes. Open a window or run the vent hood, and lift the blender lid away from your face.
- Soothe burns with dairy, not water. Milk, yogurt or another fatty dairy product dissolves capsaicin. Water just spreads the heat around.
- Wash everything well. Clean boards, knives and the blender thoroughly after use so the heat does not turn up in your next meal.
Not sure how hot a variety is? Our chili heat scale guide compares 22 peppers so you can choose a heat level you can actually handle.
Chili Peppers for Hot Sauce
| Chili | Heat | Flavor | Best for |
|---|---|---|---|
| Jalapeno | Mild to medium | Grassy, fresh | Green sauce, everyday heat |
| Fresno | Medium | Fruity, sweet | Bright red table sauce |
| Cayenne | Hot | Clean, sharp | Classic Louisiana-style fermented sauce |
| Tabasco | Hot | Sharp, vinegary | The classic ferment behind the famous sauce |
| Serrano | Medium to hot | Bright, crisp | Fresh, salsa-style sauces |
| Habanero | Very hot | Floral, fruity | Caribbean and tropical sauces |
| Scotch bonnet | Very hot | Sweet, fruity | Jerk and Caribbean sauces |
| Thai bird's eye | Hot | Sharp, fiery | Thin, fiery sauces |
| Ghost / Carolina Reaper | Superhot | Intense, fruity | Extreme sauces, use sparingly |
When to Make Hot Sauce
Peppers ripen through the warm season, so the best time to make sauce is when you have a glut of ripe, fully colored fruit on the plants. Red, orange and yellow chiles are sweeter and hotter than green ones and make a better sauce.
- Florida and the warm South. Peppers crop heavily in the warm season, with a big flush before the peak of summer heat and another in fall once temperatures ease. In much of Florida you can grow chiles for most of the year, so you may have ripe fruit to work with across several windows.
- Cooler regions. The main flush comes in late summer into fall as the fruit colors up. Pick over the plants as the peppers ripen and freeze batches until you have enough for a sauce.
Track Your Peppers Until You Have Enough for a Batch
Log your chili varieties and harvests in the Planting Season app, watch the totals add up, and you will know exactly when you have enough ripe fruit for a sauce day.
Open the App →Plan Your Peppers in the App
The best sauce starts in the garden. Add your chili varieties to your garden in the Planting Season app, log each harvest as you pick, and the running totals tell you when the glut has arrived. Keep a hot variety for fermenting, a milder one for an everyday table sauce, and let the app remind you when each is ready, so nothing rots on the plant before it makes it into a bottle.
Frequently Asked Questions
Is homemade fermented hot sauce safe?
Yes, when you do it carefully. A salt brine of 2 to 3 percent and keeping the chiles fully submerged creates the acidic, low-oxygen conditions that favor the good lacto bacteria and discourage spoilage. The real safety question comes at bottling. For a sauce kept at room temperature on the shelf you must acidify it with vinegar to a safe pH, ideally pH 4.0 or below, and check it with a calibrated pH meter or test strips. If you do not test and acidify, keep the sauce in the fridge and use it within a few weeks to a couple of months. For shelf-stable canning, follow tested recipes from USDA or the National Center for Home Food Preservation (NCHFP).
How much salt do I need for a hot sauce ferment?
Aim for a salt brine of 2 to 3 percent by weight, with about 2.5 percent being a balanced, reliable choice. Lower salt ferments faster and tastes milder, higher salt is slower and very safe. Use the brine calculator on this page to get the grams for your batch. The percentage is worked out across the combined weight of the chiles and the water that covers them. Always use non-iodized salt with no anti-caking agents.
How long should I ferment chili peppers?
Most hot sauce ferments run for 1 to 3 weeks at room temperature, around 65 to 75 degrees Fahrenheit. Start tasting from about day 7. A shorter ferment is brighter and sharper, a longer one is deeper, more sour and more complex. When the flavor is where you want it and the bubbling has slowed, it is ready to blend and bottle.
Do I need to add vinegar to hot sauce?
For a fridge sauce you can add vinegar just for flavor and brightness, to taste. For a shelf-stable sauce stored at room temperature, vinegar does a safety job as well, lowering the pH to a level that prevents harmful bacteria. If you want to store sauce out of the fridge, acidify it and test the pH, aiming for 4.0 or below, or follow a tested recipe from USDA or NCHFP for any water-bath canning. If you would rather not test, keep it in the fridge.
How long does homemade hot sauce last?
A fresh or fermented sauce that has not been tested for pH keeps in the fridge for a few weeks to a couple of months. A properly acidified sauce that has been confirmed at a safe pH, or one made to a tested shelf-stable recipe, keeps much longer. When in doubt, refrigerate and trust your senses. Discard any sauce that smells off, fizzes unexpectedly after bottling, or grows mold.
What is kahm yeast and is it dangerous?
Kahm yeast is a thin, white, sometimes wrinkly film that can form on the surface of a ferment. It is usually harmless. Skim it off, make sure everything is back under the brine, and carry on. It is different from mold, which is fuzzy and colored (green, black, pink or blue). Fuzzy colored mold means you should discard the batch.
Can I make hot sauce without fermenting?
Yes. A quick vinegar hot sauce blends fresh chiles with vinegar, salt and aromatics, then is bottled or briefly cooked. It is fast and bright, and the vinegar gives immediate acidity. It will not have the deep, complex tang of a fermented sauce, but it is the simplest route and a great way to use a glut in an afternoon. Store quick sauces in the fridge unless they are made to a tested shelf-stable recipe.
See also: Chili Heat Scale and How to Grow Chili Peppers